Simple EXPO-8000 Timing Tuning
Today, I’m tuning the memory timings of my G.SKILL EXPO-8000 2x16GB memory kit using the ASUS ROG Crosshair X870E Hero motherboard.
EXPO-8000 Tuning: Introduction
Hello and welcome to CheckPoint, a video series for talking about specific overclocking topics in a shorter format.
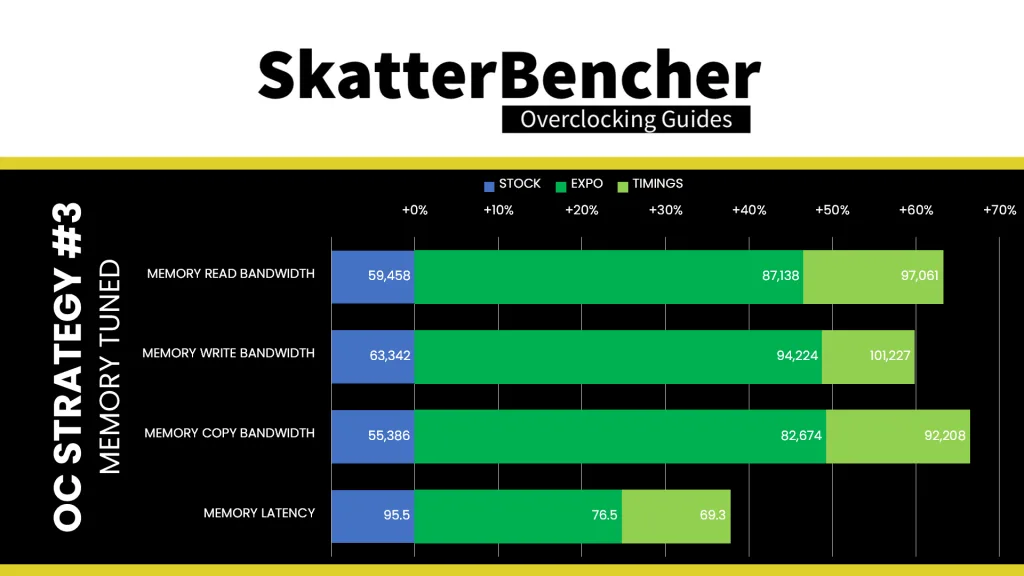
Today, I want to show you how I go about tuning the memory timings of my G.SKILL EXPO-8000 memory kit which I used in OC Strategy #3 of the Ryzen 9 9950X3D SkatterBencher guide. Tuning the memory timings helps improve the system performance in workloads that depend on fast or high bandwidth memory like AI Benchmark, Y-Cruncher, and even Geekbench.
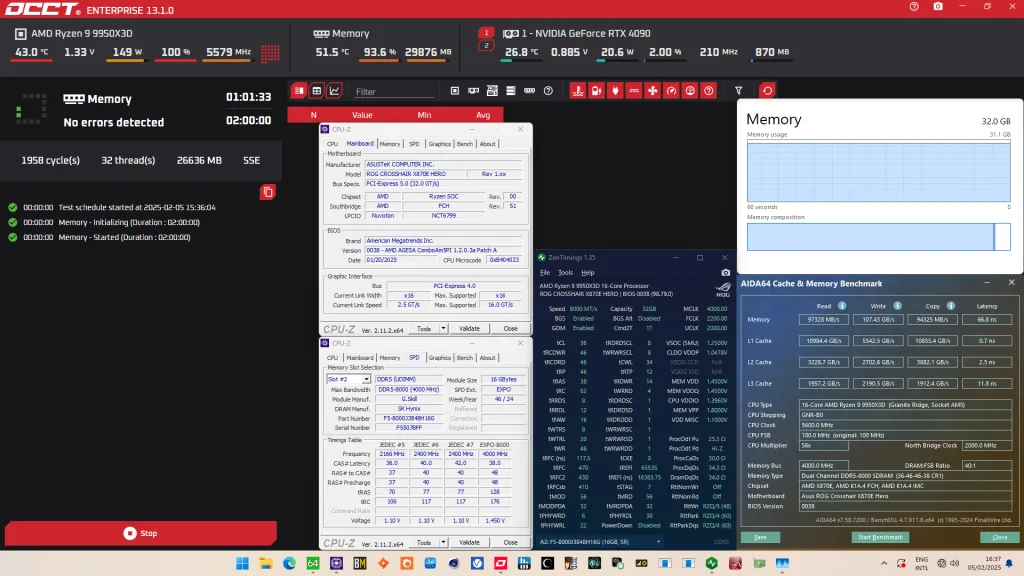
After tuning the memory timings, my AIDA64 bandwidth was around 100 GB/s with sub-67ns latency.
What’s EXPO?
AMD Extended Profiles for Overclocking, or AMD EXPO, enables ubiquitous memory overclocking profiles for AMD platforms supporting DDR5 memory.
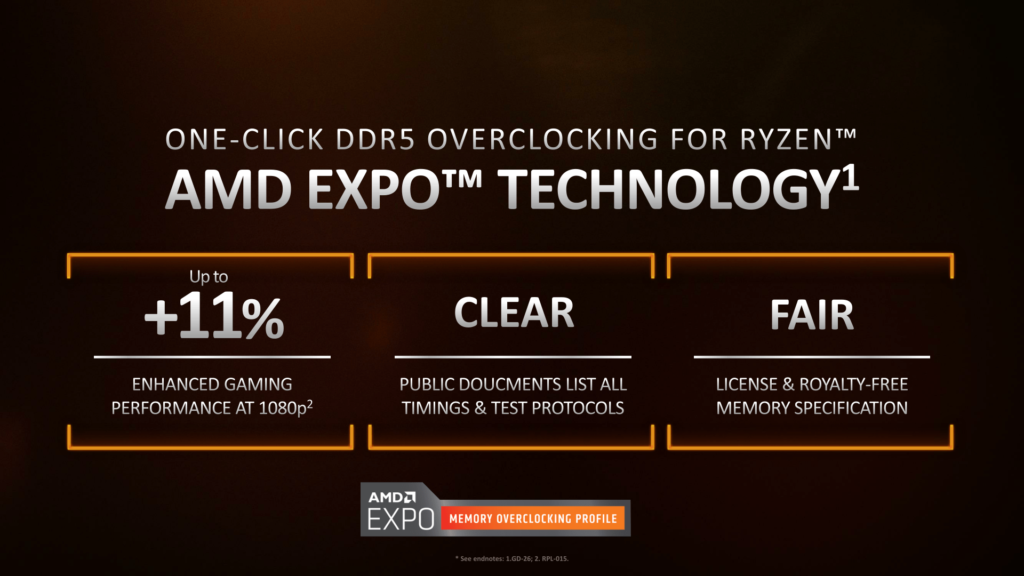
AMD introduced the EXPO technology with the introduction of the Ryzen 7000 Raphael processors on August 29, 2022. Its purpose is to allow memory vendors to program higher-than-JEDEC-performance profiles onto the SPD of the memory sticks. The user can then enable these settings with a single option in the BIOS. The result is that customers can unleash their full memory performance with essentially the click of a single button.
Generally, I find that EXPO is a really easy way to improve memory performance without too much hassle. Sometimes the EXPO kit isn’t stable out of the box but that usually has more to do with the CPU memory controller voltages and/or frequency than the kit itself.
Of course, the kits are not tuned for maximum performance as vendors need a configuration that applies broadly to the many kits they produce. That’s the performance opportunity we can exploit as enthusiasts.
There are a lot of memory timings, however, and the topic of memory controller and system memory tuning is exceptionally complicated. It’s not really an option to first get a deep understanding of memory controllers and memory ICs, then apply that knowledge to memory tuning. The fastest and, usually, most effective approach is to basic trial-and-error.
Fortunately, motherboard vendors help us out by providing some guidance on how to tune the memory timings.
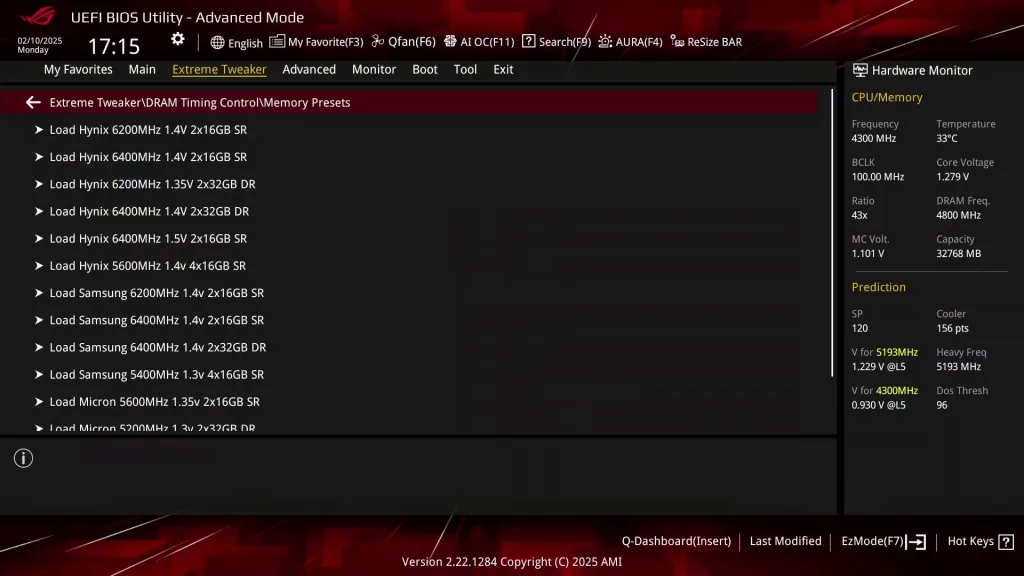
ASUS Memory Preset
ASUS Memory Presets is an ASUS overclocking technology that provides a selection of memory-tuning presets for specific memory ICs. The presets will adjust the memory timings and voltages.
The ROG Crosshair X870E Hero motherboard sports fourteen memory profiles for a variety of memory ICs and configurations. Since we’re interested in adjusting the memory timings, we can try the Hynix 7600MHz 1.45V 2x16GB SR preset.
EXPO-8000 Tuning: Testing
Testing for memory stability is a bit of a hot topic in the enthusiast community as there are several yardsticks used by different communities. If I’m not mistaken, Karhu is the current meta. But I’d say check out Buildzoid’s YouTube channel to keep up to date with the latest developments in memory overclocking.
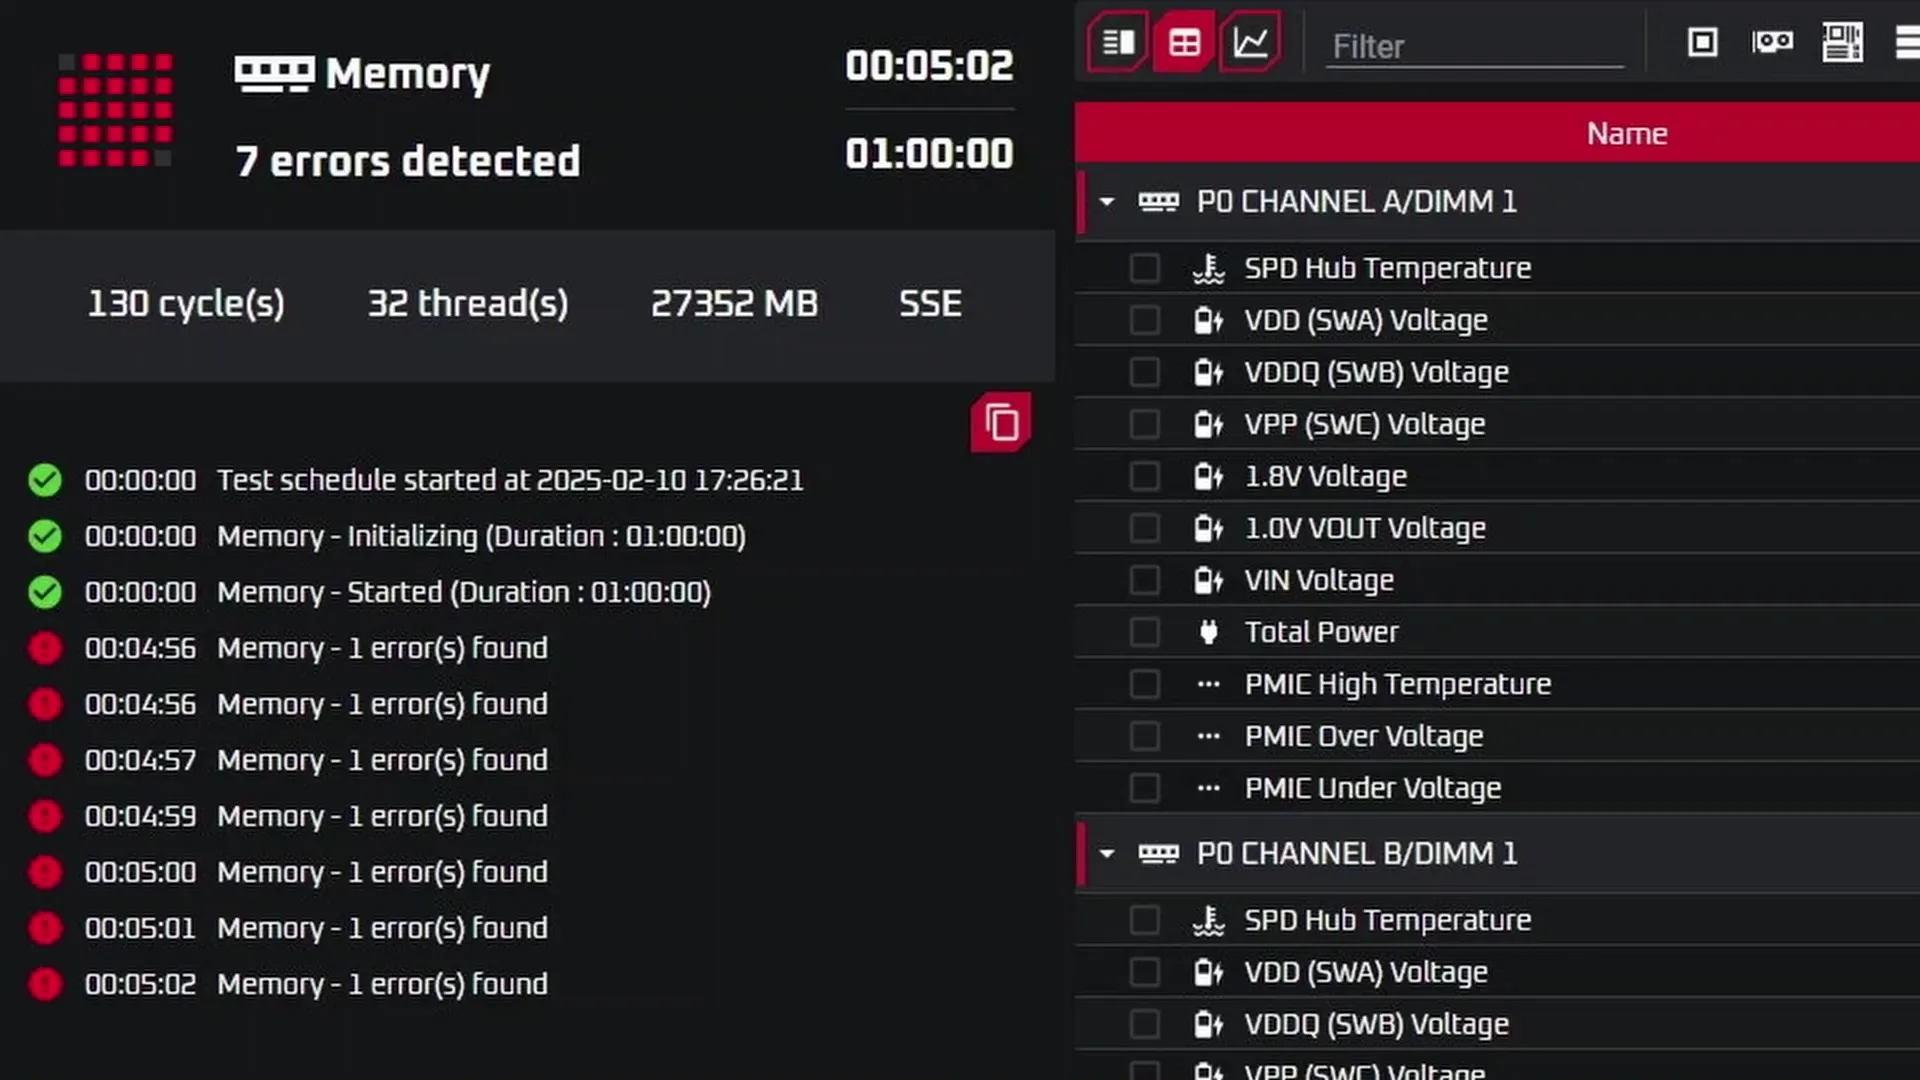
I have always relied on the OCCT Memory Stress Test because, eh, I also use OCCT for CPU Stress Testing. I always found that if the memory passed one hour of OCCT, it never really failed any benchmark or other workload. One exception is the tRAS sensitivity for AMD IGPUs, but that’s a whole different topic altogether.

Since OCCT Memory Stress Test has always worked for me – that’s what I’m sticking with for now. But if you prefer a different stress test, that’s OK too. At the end of the day, stability means different things to different people.
EXPO-8000 Tuning: Process
It was the first time I used an EXPO-8000 memory kit so I had to start my tuning journey from scratch.
The Hynix 7600 memory preset turned out not to be stable as it would throw errors in the OCCT Memory Stress test almost instantly. To fine-tune the timings, I try setting certain timings back to its EXPO value until I find the timings that caused the errors. To speed up the process, I group together the following timings:
- Group 1: primary timings plus tRC
- Group 2: all refresh-related timings
- Group 3: tWR, tFAW, tWRRD, and tRDWR
- Group 4: all -SCL, -SC, -SD, and -DD secondary timings
- Group 5: tRRDL, tRDDS, tWRTL, tWTRS
By checking the impact of adjusting each group’s timings I found that it was the -L and -S suffix sub-timings of group 5 causing memory instability. By relaxing them just a bit, the memory was stable.
Here are the final optimized memory timings for this memory kit.
Memory Kit
VENDOR		G.SKILL
SKU		F5-8000J3848H16GX2-TZ5RK
DRAM IC		Hynix A-DIE
PMIC 		Richtek

Frequency
MCLK		4000 (DDR5-8000)
UCLK		2000

Voltage
DRAM VDD	1.45
DRAM VDDQ	1.45
DRAM VPP	1.80
SOC		1.25
VDDIO		1.40
VDDP		1.05

Primary Timings
tCL		36
tRCD 		46
tRCDWR		46
tRP 		46
tRAS		38

Secondary Timings
tRC		62
tWR		48
tREFI		65535
tRFC1		470
tRFC2		430
tRFCsb		410
tRTP		12
tRRDL		12
tRDDS		8
tFAW		16
tWTRL		20
tWTRS		8
tRDRDSCL	8
tRDRDSC		1
tRDRDSD		1
tRDRDDD		1
tWRWRSCL	8
tWRWRSC		1
tWRWRSD		1
tWRWRDD		1
tWRRD		4
tRDWR		14

Tertiary Timings
tMOD		56
tPHYWRD		6
tPHYWRL		22
tCWL		34
tCKE		0
tSTAG		7
tMRD		56
tMRDPDA		32
tPHYRDL		38
After the tuning, our AIDA64 performance improved quite significantly. We got about +50% extra bandwidth and +25% better latency by enabling EXPO. The memory tuning then added another 12-15% on top of that.
More Things To Do
Of course, the tuning journey is not finished as I could probably tighten up some sub-timings even further for additional performance gains. However, that’s something I’d do only if I were pursuing certain benchmark goals or entering a competitive overclocking competition. For a daily setup, this was more than enough work already.
Outro
Alright, that’s it for this CheckPoint – let me know if you have any ideas in the comments below, and see you in the next one!
Sylwek
Hi, do you think that the Lexar Ares 6400/CL32 (a-die 4.1) memory can be set to 8000? And will it be a better solution than 6400? My motherboard is Asus b850-plus wifi with Ryzen 9600x
Pieter
I’m not familiar with that kit, so I can’t tell you how tunable it is.
In my experience 6400 1:1 and 8000 1:2 are about the same in performance, with 8000 having the additional advantage that the SOC voltage can run significantly lower.
Dmytro
Thank you for what you’re doing. It would be cool to see some updates using Direct Die cooling – what could be done even more to 9950X3D.