SkatterBencher #6: Intel Core i7-7700K Overclocked to 5200 MHz
We overclock the Intel Core i7-7700K processor up to 4000 MHz with the ASUS ROG Maximus IX Apex motherboard and AIO water cooling.
Welcome to SkatterBencher #6. In this episode we are focusing our attentions on the latest Kaby Lake architecture processors from Intel, specifically the Core i7-7700K. In this guide we want to show you how to Overclock an i7 7700K from its default clock frequency of 4.5GHz, to 5GHz and beyond. We’re also going to show you in our typical quick-and-easy style, how to also push the DDR4 memory frequency, the integrated graphics, plus a nice trick that will push the CPU even further while only using an all-in-one cooler. Of course we’ll also examine just how much performance can be gained by running some benchmarks.
Table of Contents
Hardware
Firstly let’s look at the hardware we will be pushing today:
- Processor: Intel Core i7-7700K
- Motherboard: ASUS ROG Maximus IX Apex
- RAM: G.SKILL Trident Z 16GB DDR4 Kit (F4-3200C14Q-32GTZSW)
- CPU Cooler: Cooler Master Seidon 120V
The total cost of this system is around $850 USD.
Benchmarking Software
Here’s a list of the benchmark software we will be using in this guide to assess improvements in system performance, including download links.
- Intel XTU: http://url.hwbot.org/1MMiv4V
- HWBOT x265 1080P: http://bit.ly/2cbHLot
- Geekbench4: http://bit.ly/2dXqlwl
- 3DMark Sky Diver: http://url.hwbot.org/1EscF3w
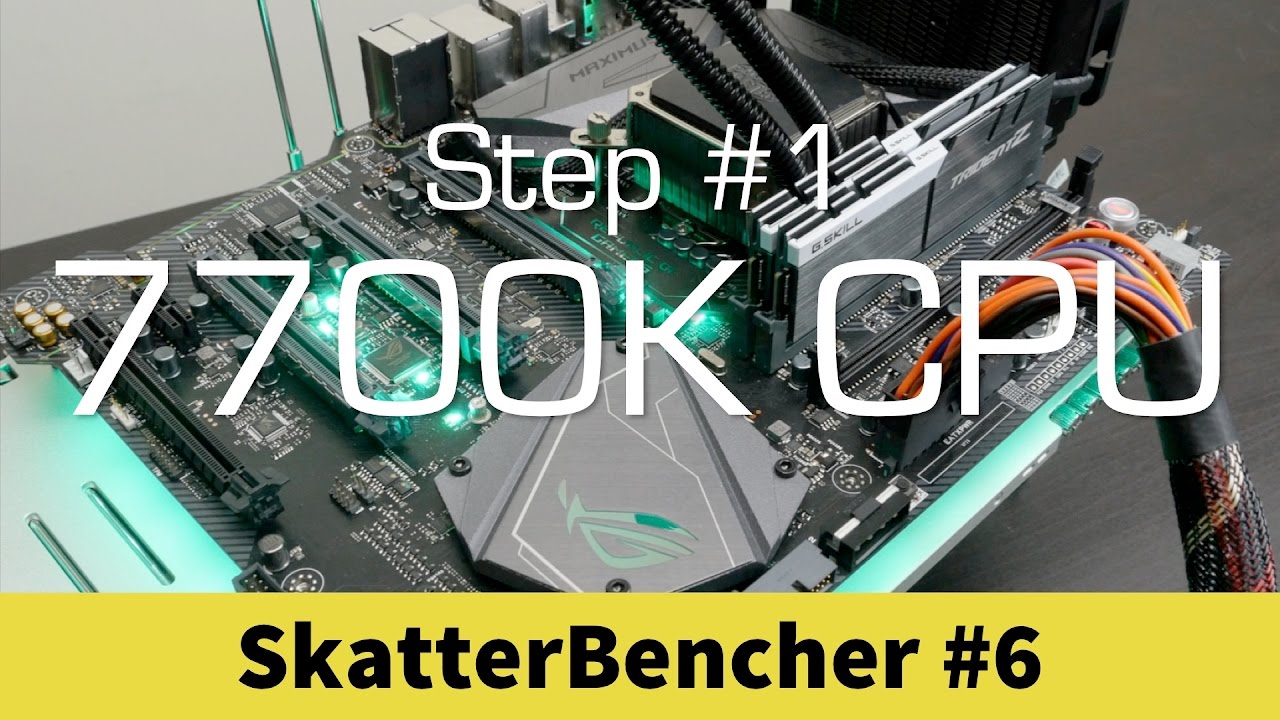
Step 1: CPU Overclocking
To Overclock the CPU frequency we enter the ASUS ROG Maximus IX Apex motherboard’s BIOS. This is where we will be making adjustments to how the CPU, memory and IGP are configured. We enter BIOS and navigate to the ‘Extreme Tweaker’ section. Firstly we leave the ‘AI Overclock Tuner’ to ‘Auto’. Under ‘CPU Core Ratio’ we configure the field to ‘Sync all Cores’ then set the ‘1-Core Ratio Limit’ to ’50’. Further down the settings we set ‘CPU Cache Voltage’ to ‘Manual Mode’ and configure the voltage to 1.3v. Press F10 to save settings and reboot so we can load the OS.
Having rebooted the system we see that we have indeed pushed the CPU from 4.5GHz to 5GHz. Having done so we ran our benchmarks again to asses what gains this CPU frequency overclock brings in terms of performance.
- Intel XTU: +2%
- HWBOT x265 1080P: +10%
- Geekbench 4 Single-Core: +4%
- Geekbench 4 Multi-Core: +6%
- 3DMark Sky Diver: 0%
As you can see, there are significant performance gains in several of the benchmarks. Only the 3DMark Sky Diver benchmark failed to see any gains.
Step 2: Memory with XMP
The next step of this guide is about improving the performance of your system memory or RAM. We can do this by entering BIOS and enabling XMP (eXtreme Memory Profile). This alters the settings of the G.SKILL Trident Z DDR4 kit so that the dual channel memory frequency is raised.
To enable XMP return to the ‘Extreme Tweaker’ section of the BIOS and set the ‘AI Overclock Tuner’ field to ‘XMP’. Press yes to confirm settings change, and then F10 to save settings and reboot back to the OS.
We return to our system with our memory now configured at 1600 MHz. Again we run our benchmarks to assess potential improvements in performance. Note the CPU is running at stock 4.5GHz, allowing us to assess the memory overclock in isolation.
- Intel XTU: +5%
- HWBOT x265 4K: +5%
- Geekbench 4 Single-Core: +4%
- Geekbench 4 Multi-Core: +8%
- 3DMark Sky Diver: 5%
This time we see that by simply configuring the BIOS to XMP mode and raising the DDR4 frequency, we have achieved a solid boost across all benchmarks, including 3DMark Sky Diver.
Step 3: Manual Memory Overclocking
Of course enabling XMP is first step to gain extra memory performance, but often you can manually alter settings to push your memory even further. In Step 3 we are going to do exactly that – overclock the memory.
To manually tune the memory, we go to the Extreme Tweaker portion of the BIOS. First we leave ‘AI Tuner’ configured at auto. Then we scroll down the ‘DRAM Frequency’ field and select DDR4 4,000MHz. In the ‘DRAM Timing Control’ section we set ‘DRAM CAS# Latency’ to 16, ‘DRAM RAS# to CAS# Delay’ to 16 and ‘DRAM RAS# to ACT#’ to 32. Scroll further down the menu to ‘DRAM Voltage’ and increase from 1.2v to 1.5v. Press F10 to save settings and reboot the system.
Once back in the OS, we once again run our benchmarks to see what the manual memory overclock to done to increase performance. Here are the numbers:
- Intel XTU: +8%
- HWBOT x265 4K: +6%
- Geekbench 4 Single-Core: +6%
- Geekbench 4 Multi-Core: +12%
- 3DMark Sky Diver: 5%
The CPU centric benchmarks all see a further increase in performance compared the previous memory overclock using XMP only. This is solid proof that DRAM frequency is not the only way to increase memory performance. Tighter timings also help considerably.
Step 4: IGP Overclocking
In Step 4 we isolate the graphics portion of the Intel Core i7-7700K, the HD Graphics 630 IGP, or integrated graphics processor. This should help improve performance specifically in 3D gaming.
In the Extreme Tweaker section of the BIOS, we leave ‘AI Overclock Tuner’ configured at ‘Auto’. Then we enable higher IGP power by configuring the ‘CPU Graphics Current Limit’ to ‘255.5’. Further down we configure the ‘Max CPU Graphics Ratio’ to ’27’. Then we set the ‘CPU Graphics Voltage Mode’ to ‘Offset Mode’. Finally we set the ‘CPU Graphics Voltage Offset’ to 0.315v.
The IGP frequency is now increased from 1,150MHz to 1,350MHz. After returning to the OS we ran our benchmark suite again:
- Intel XTU: +0%
- HWBOT x265 4K: +0%
- Geekbench 4 Single-Core: +0%
- Geekbench 4 Multi-Core: +0%
- 3DMark Sky Diver: 14%
As predicted the IGP overclock has an effect only on the 3DMark Sky Diver benchmark, a 3D application that is largely GPU dependant.
Step 5: Full Out Overclocking

The next step of our guide deals with applying all the overclocking settings at the same time. Following the steps outlined above these are pretty much the optimal overclocking settings we can achieve using an All-in-One cooler.
- CPU: Core i7-7700k – 5GHz
- Memory: DDR4-4000 CAS16
- IGP: 1,350MHz
Once again we run our benchmark suite to see just how much extra performance can be gained with this ‘Full Out’ overclock:
- Intel XTU: +13%
- HWBOT x265 1080P: +15%
- Geekbench 4 Single-Core: +18%
- Geekbench 4 Multi-Core: +18%
- 3DMark Sky Diver: 22%
As you can see from the numbers above, overclocking all the elements of your system (CPU, DDR4 and IGP) gives you the best chance of getting maximum performance from your system.
Step 6: Enable AVX Negative Core Ratio Offset Tweak for 5.2GHz
At times there are tricks, or indeed features that can allow an overclocker to squeeze a little extra performance from a system. With the latest Kaby Lake architecture CPUs, Intel has a feature that allows you to configure the Core Ratio to downclock in case AVX instructions are detected. AVX instructions are used in certain encoding applications, but in the majority of applications, such as 3D gaming titles, AVX can cause unwanted additional power consumption and heat. This heat can prevent or limit CPU frequencies when Overclocking.
To employ this teak, first return the Extreme Tweaker section in the BIOS. Then configure the ‘AVX Instruction Core Ratio Negative Offset’ field to ‘2’. Then configure the ‘1-Core Ratio Limit’ to ’52’. This will set our Core i7-7700K to run at 5.2GHz, a welcome boost in performance. However when an AVX application is used, the CPU will be offset to 5GHz to avoid heat issues.
Thanks for joining us for SkatterBencher #6. Make sure you check out our YouTube channel where you will find many more video guides that show you how to get the most out of your system with the minimum amount of fuss.
